When a hearing aid stops working, it can be frustrating. The good news is that many common problems are simple, and you can often spot (and fix) them at home in just a few minutes. Before you assume your device is broken, try the steps below. These quick checks can save you time, stress, and an extra trip to the clinic.
How to Check Your Hearing Aid
Has your hearing aid stopped working? This can be due to a number of different issues. For the most common issues, you can usually check your hearing aid, and sometimes fix it, at home. But how do you know whether your hearing aid needs professional services? How can you identify and fix issues at home? Try the following steps first to save yourself some time and money!
- Identify the parts of the hearing aid.
- Replace the battery.
- Remove obstructions / replace wax guard and domes.
- Remove moisture by placing in dryer.
- Listen with the opposite ear.
1) Identify the parts of the hearing aid.
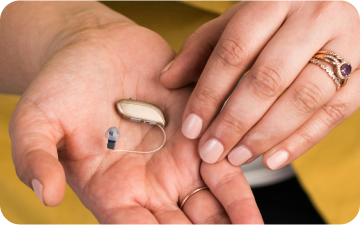
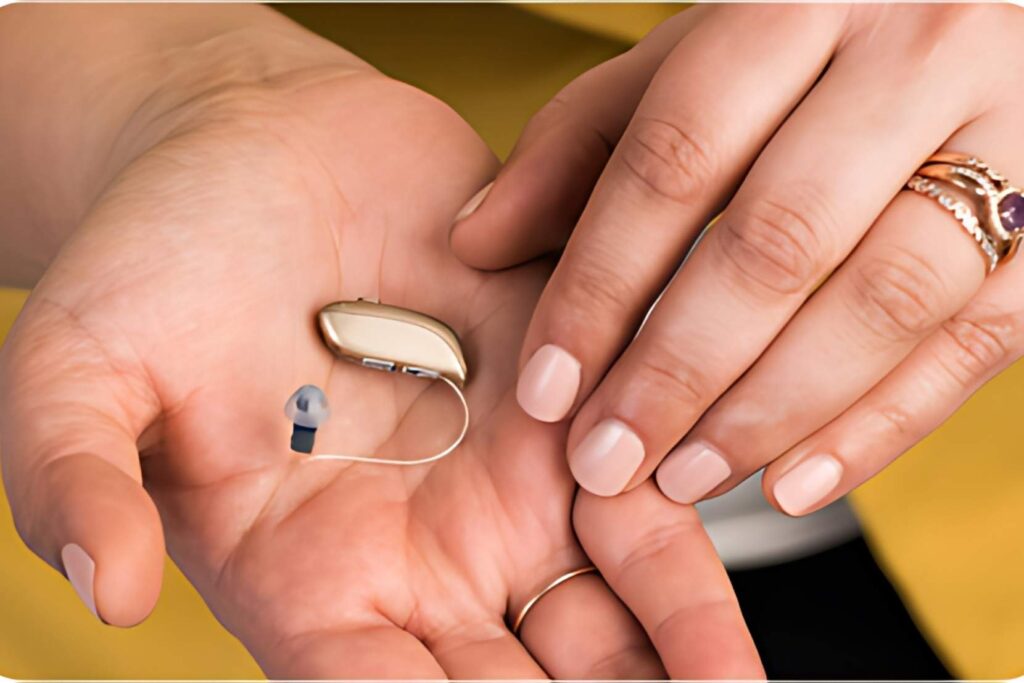
Depending on the style of your hearing aid, the various parts will look different or be located in different places on the hearing aid. When you check your hearing aid, think about which part goes deepest in your ear. That part, the part closest to your eardrum, should be the speaker. The part furthest from your eardrum should contain the microphone(s) and battery compartment. When you’re looking at these parts, also look for anything that might be clogging them. Is there wax plugging the speaker? Debris in the microphone? These observations can help fix a lot of hearing aid issues.
2) Replace the battery
It sounds so obvious, but sometimes fixing the hearing aid is as simple as replacing the battery! You might have gotten a bad or expired battery, or it might have lost its charge from moisture. If one hearing aid is working but the other isn’t when you check your hearing aids, try switching the batteries and see if that fixes the broken hearing aid.
3) Remove obstructions / replace wax guards and domes
One of the most common issues when a hearing aid is “dead” is just earwax in the speaker. You might be able to fix it at home by changing the wax guards and domes (if you have domes) if your speaker is clogged with earwax. Your wax guard is a little white piece of plastic that sits on the end of the speaker. Replacement wax guards are usually included with your hearing aids, and if you need more they can be purchased for about $6-8 for a pack of 8-12.
When you check your hearing aid, take a look at the wax guard and see if it’s clogged. Depending on the manufacturer, the way to change it out with the new wax guard might be a little bit different. But there’s usually a diagram on the package to explain how to do it. We have some instructional videos available on our YouTube channel.
4) Remove moisture
Your hearing aids might have some moisture damage if they are providing intermittent sound or are losing volume toward the end of the day. You should try putting them in a dryer if you don’t already have one and see if that fixes the issue. You can find some passive dryers at most audiology practices for $8-15, or invest in an electric dryer if the passive ones aren’t helping enough.
5) Listen with the opposite ear
Your hearing aid might not actually be the problem – your ear might be. Ear wax buildup is a common issue among hearing aid users. Your hearing will be worse than usual if that buildup plugs your ear canal, which will make it seem like the hearing aid is dead. So when checking your hearing aid, try listening to it with your opposite ear to see if it sounds any better. If it does, you might need your audiologist to remove some ear wax. Link Audiology connects you to expert audiologists in Vashon, WA, Silverdale, WA, and University Place.
When to Get Professional Help
If you’ve tried these steps and your hearing aid still sounds weak, cuts in and out, whistles, or stays silent, it may need professional cleaning, a receiver repair, or a deeper check in the office. Also, if you notice ear pain, drainage, sudden hearing changes, or strong fullness in your ear, it’s best to get your ear checked instead of troubleshooting longer at home. A quick visit can help you protect both your hearing and your device.
Link Audiology provides expert audiology care in Silverdale, Vashon, and University Place, Washington. Contact us today to schedule an appointment!